We have received a lot of requests asking for a tutorial how to create Facebook Avatars so that they can use them in their comments, posts, stories and everywhere else. This is the step-by-step tutorial on how to create the avatar on an Android device.
Pre-requisites:
- An android phone (duh…)
- An updated Facebook App
- Your patience and creativity (Mandatory!) ?
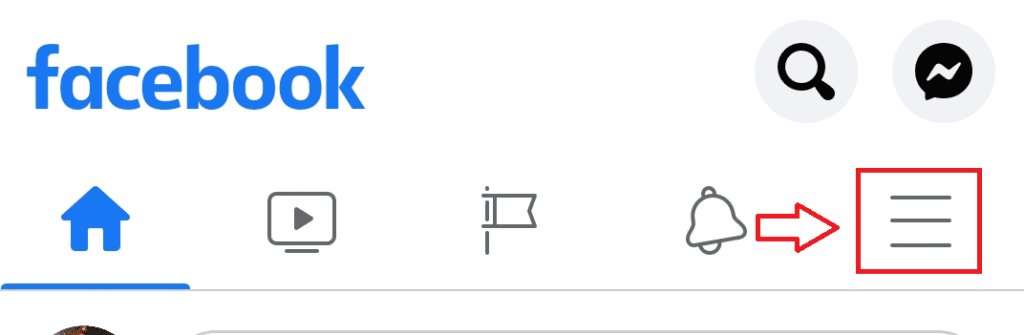
Step 1: Select the three horizontal lines in the bottom-right corner of your screen. You can find them near notification bell. This click will open the menu with a lot of options.
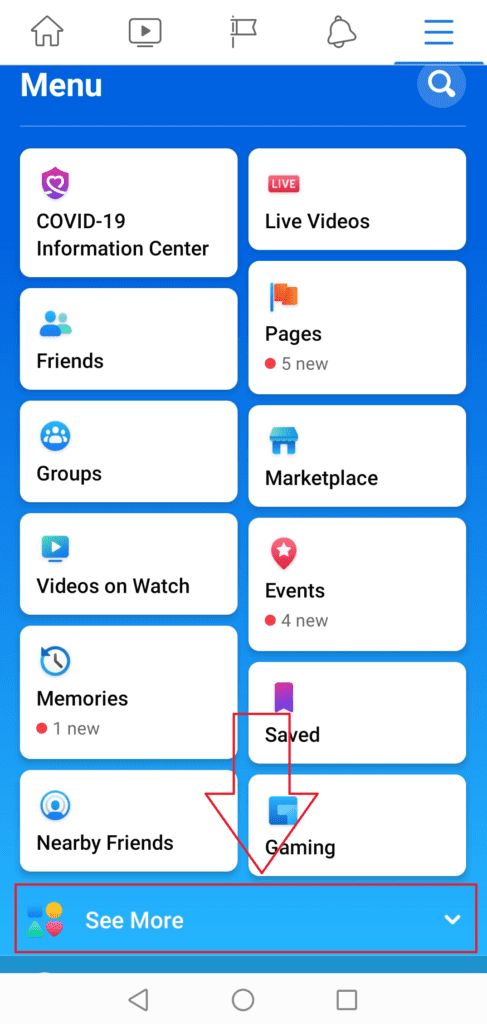
Step 2: You should scroll down and select “See More”. This option is usually below the options for “Nearby Friends” and “Gaming”. It may be different on your phone, but in general this option is always at the bottom.
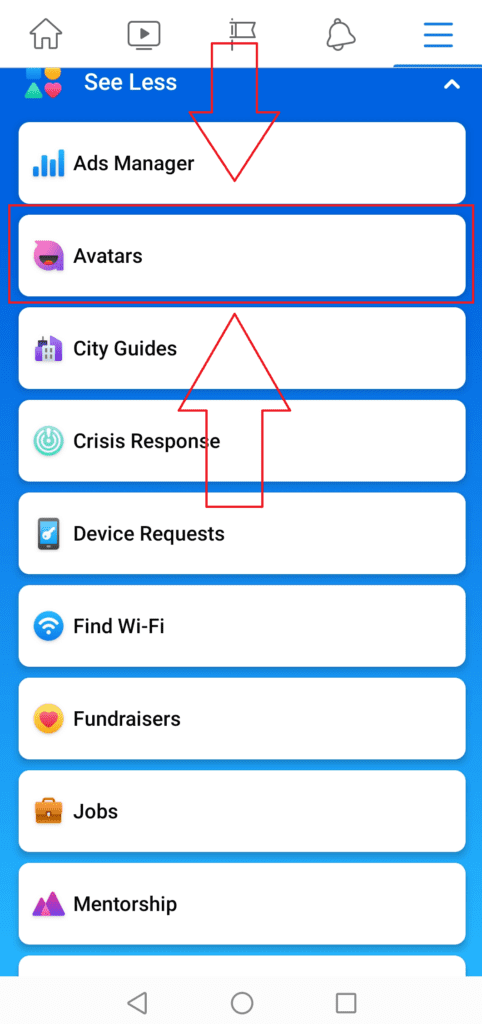
Step 3: Select the option “Avatars”. This option is usually below “Ads Manager” and above “City Guides”. Usually it is quite high in the menu list.
Cannot see the avatar option? Check out our guide how to solve the avatar not showing up in the menu issue.
If you cannot see this link then it means Facebook did not include you in the wave of users to receive the avatar functionality yet. Please wait a little bit and they will roll out it to everyone.
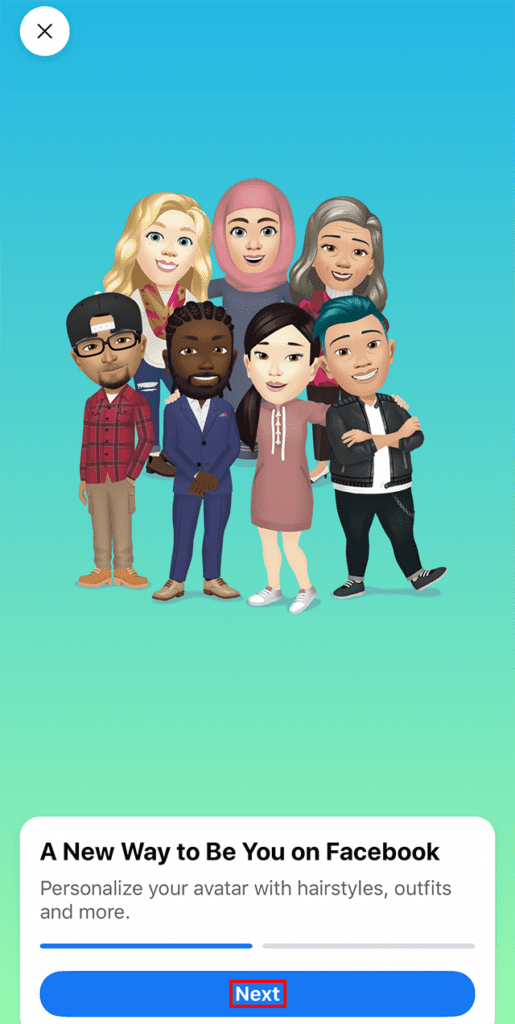
Step 4: On the window, which opens afterwards, select “Next”. This will bring you to another window where you will be notified about sticker types.
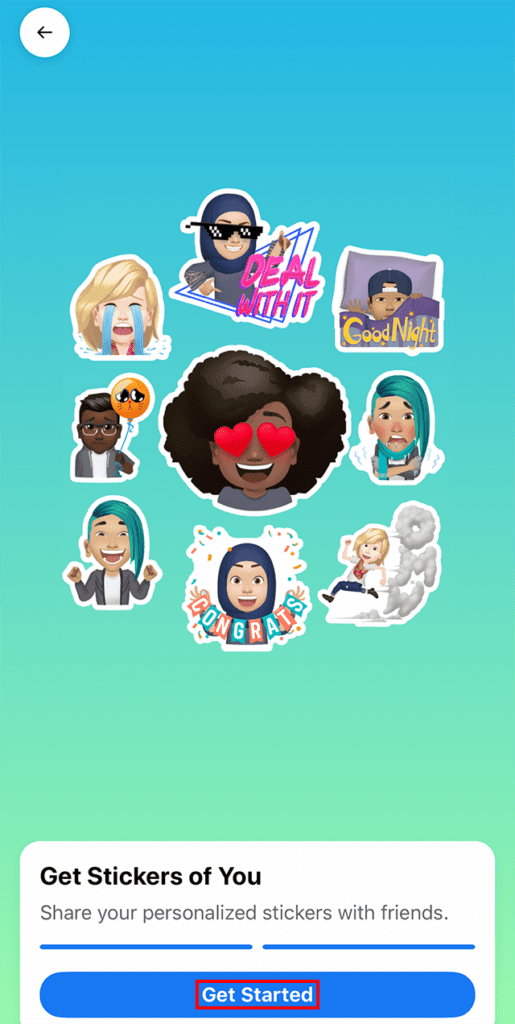
Step 5: In the following window select the button “Get Started.” It is quite cool how many options Facebook is offering, right?
Step 6: Choose a skin tone form the options you like in the window (you can scroll to see them all), and then click “Next” at the bottom of the screen. I am sure you will find something that fits you ?
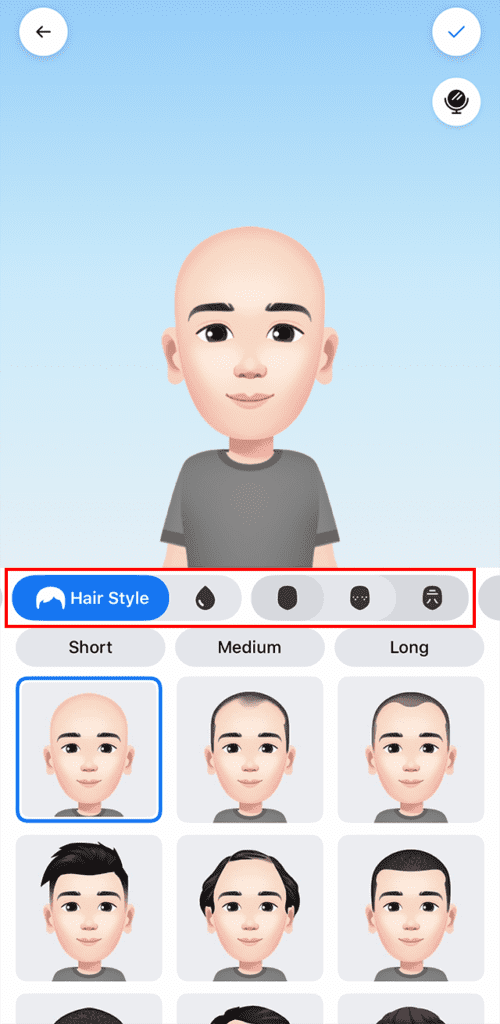
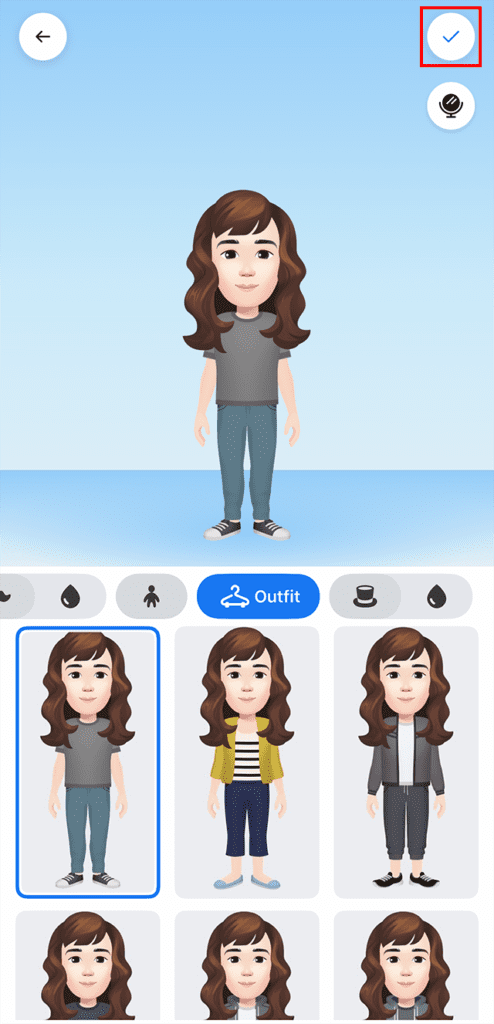
Step 7: In the next window you will see more options, where you can customize your avatar in the variety of ways by picking their hairstyle, hair color, hair length, face shape, eye shape and color, makeup, eyebrow style and color, nose shape, mouth shape and color, facial hair, body shape, outfit, eye wear, hat and more. Click on the buttons in the top area to choose between different options and click on them to preview the changes on your avatar.
Pro tip: You can click on the mirror icon near the top-right corner of the screen to open your device’s front-facing camera, which will allow you to look at yourself while creating your Avatar.
Step 8: When you have finished customizing your Avatar, click on the check mark icon in the top-right corner of the screen in your device.
Step 9: On the window which is opened click “Next.”
Step 10: Just click “Done.” in the next window.
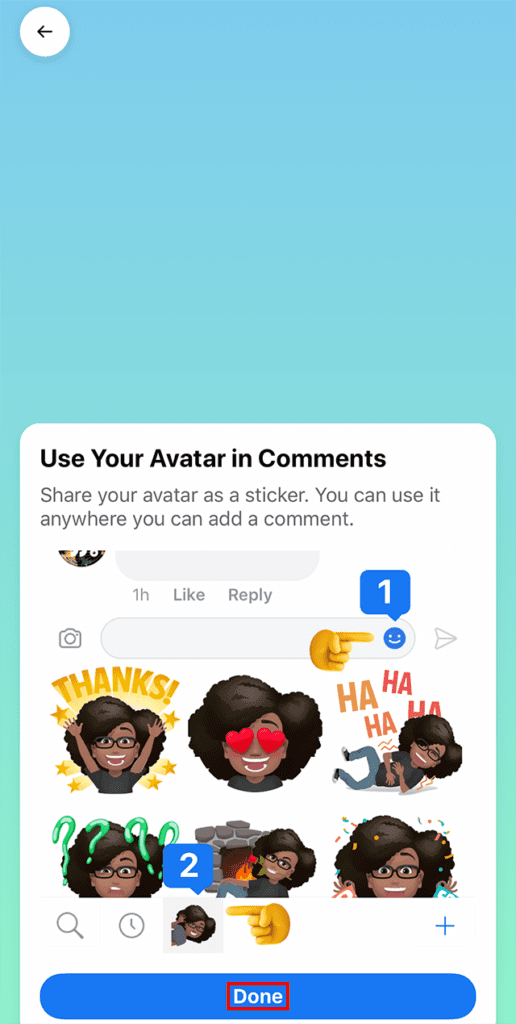
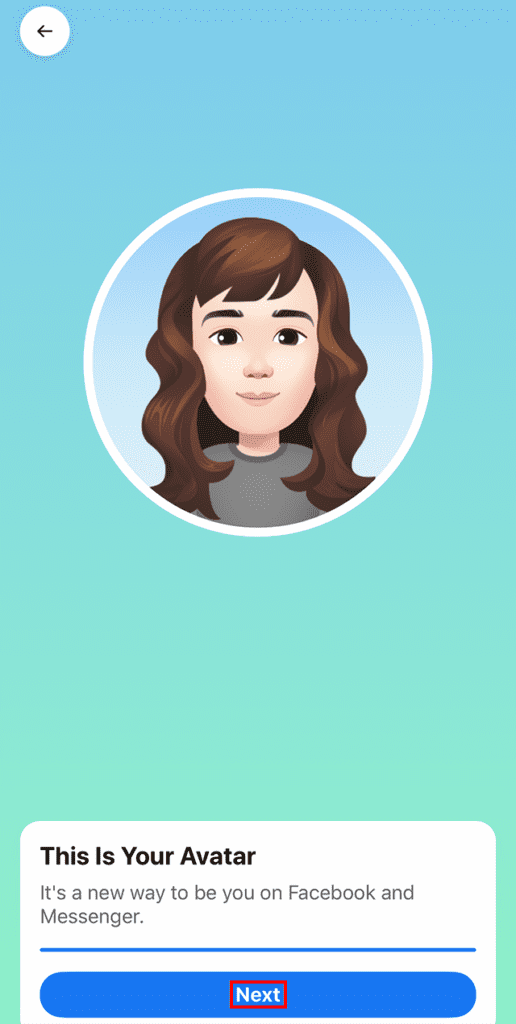
Congratulations – you have now finished creating your avatar – you can leave this window and begin using your personalized Avatar stickers in comments, Stories and more inside the Facebook app.
If you want to use your new avatar you can find it here in comments section:

Still having trouble creating the avatar? Check out our guide how to solve the avatar not showing up in the menu issue.